
The little case is perfectly sized for a lip balm, lipstick, or even a usb drive!
It's so easy to make and they make great stocking stuffers or birthday gifts. If you're giving cash, roll a couple of dollars around a lip balm to make the cutest gift! It only uses scraps of fabric so all you need is a zipper and a keychain or hook.
Easy Lip Balm Case

Materials:
5" square fabric
5" square contrast fabric (lining)
2" square contrast fabric (loop)
7" zipper
1" jump ring or 5/8" swivel hook
I'm planning on making lots of these for the holidays, so I ordered a bunch of swivel hooks from my favorite supplier - Sewing Supplies.
I always get my zippers from Sew True. If you get on their email list, they offer free shipping every once in a while and that's when I order a supply of zippers. They're as low as .44 each for 7" zippers so I just order a variety of colors to keep on hand.

1) Place zipper right sides together with the outside fabric. Zipper tab should face fabric! Your zipper is too long, just let the ends hang off the edges the same amount. Pin one edge of zipper even with one raw edge of fabric.

2) Place lining fabric right sides together with outside fabric, sandwiching zipper. Pin all three layers, keeping zipper edge and raw edges even.


5) Fold outside fabric right sides together, aligning raw edge opposite zipper with other zipper edge. Zipper should be right side up! Pin.

6) Turn over and fold lining fabric the same way, with right side of lining facing wrong side of zipper. Pin well. It looks weird but trust me, it will work!

7) Stitch using zipper foot.

8) Unzip zipper halfway - it may be a little difficult, because it is inside the tube you just made.


10) Now you should have a tube with the zipper tab on the INSIDE! Finger press the fabric that's not pressed on the side of the zipper.


11) Make Loop: fold loop fabric in half and press. Fold in raw edge on one side to meet crease and press. Fold in other raw edge to meet crease and press well.


12) Stitch both sides of loop strip about 1/8" from edge. I like to use an Edgestitching Foot.

Loop through your keyring or swivel hook and pin raw edges together.

13) Pin loop at the center of the open zipper end.

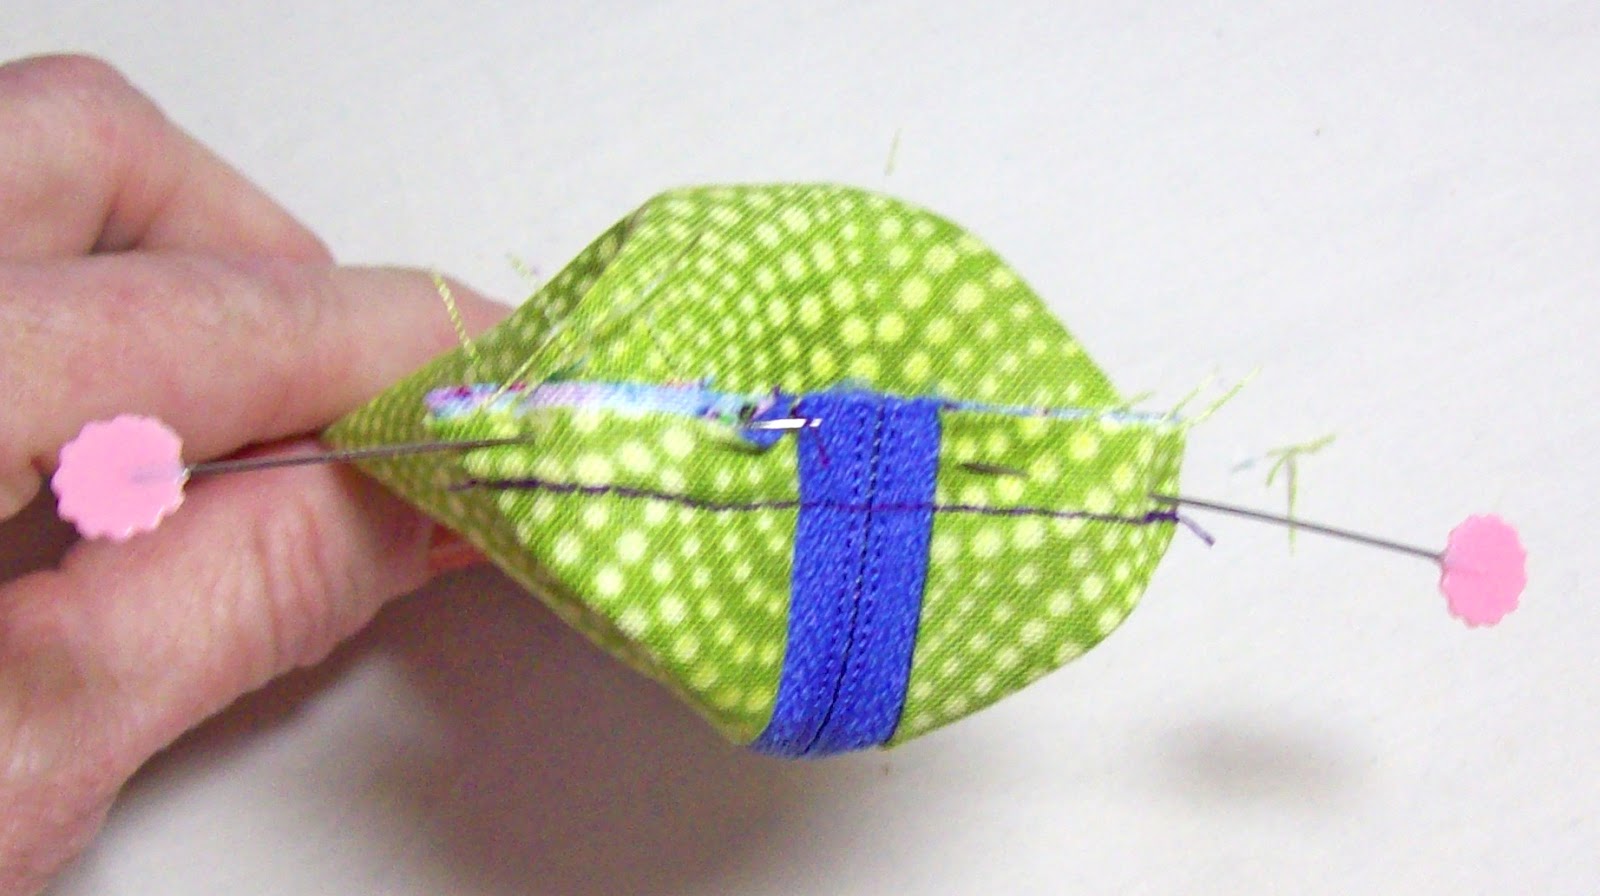
14) Bring open zipper teeth to center and pin end, keeping all raw edges even.

15) Stitch end with 1/4" seam. Stitch other end the same way.

16) Trim excess zipper ends. If you like, you can zig-zag raw edges but I don't bother, it's such a small piece and won't get much wear so I don't worry about it raveling!

17) Make sure the zipper is still open at least halfway, but not all the way. Also, make sure the clip or key ring stays inside and is on the open (zipper tab) end of the zipper.

18) Use your finger to poke out one corner. Pin so the seam is going away from the zipper and the corner makes a triangle shape.


19) Stitch approximately 3/8" from tip, making a triangle. Make four corners, 2 at each end of the case.

20) Turn case right side out.


21) Zip up case and enjoy. Note that the clip needs to be at the zipper tab end for ease of use! Now get going, you have a lot of gifts to make!!
What a great idea! I can't wait to try it. Thanks for posting this!
ReplyDeleteGlad you like it, Colleen!
DeleteI'm over from ChrisWDesigns. I read your interview but couldn't comment on Christine's blog so came over to say how lovely your creations are. Thanks for all the great free tutorials also. I love these little cases and would be perfect for my usb's.
ReplyDeleteHi Maria, glad you found me! Thanks so much. I made bunches of these cases last year but remembered to keep one for myself - it's a good way to keep track of my keys, too. LOL
DeleteI am so excited to try this out. I can never keep track of my chapstick, therefore, I end up opening one after another which is so frustrating . Thanks for your help
ReplyDeleteoh my goodness, it actually worked. I got 2 chapsticks in mine. I'm so excited!!!
ReplyDeleteI just made one of these for myself! It's so cute and your tutorial explanation and pictures are nice and easy to follow! I'll be making some for my family and friends!
ReplyDeleteThis comment has been removed by the author.
ReplyDeleteI made one of these for myself and I love it. It is going to be a fast Christmas present to make. The instructions and pictures on here are very clear and easy to follow..
ReplyDelete